Continuous Integration with Hudson and Jenkins V11#
Download the latest Lattix Hudson / Jenkins plug-in here
The earliest versions that the plug-in has been tested an confirmed to work with is Hudson 2.2.1 and Jenkins 2.129. The plug-in allows you to integrate Lattix command line commands with Hudson and Jenkins.
Installing Hudson / Jenkins plug-in#
The procedure for installing the plug-in is nearly identical in both Hudson and Jenkins
In web browser, go to Jenkins
Click on “Manage Jenkins” in left hand navigation panel
Click on “Manage Plugins” in center panel
Click on “Advanced” tab
Under “Upload Plugin” section,
click “Chose File”
select the plugin that you downloaded (hpi file)
Click “Upload”

When upload is complete you should see a page similar to this:
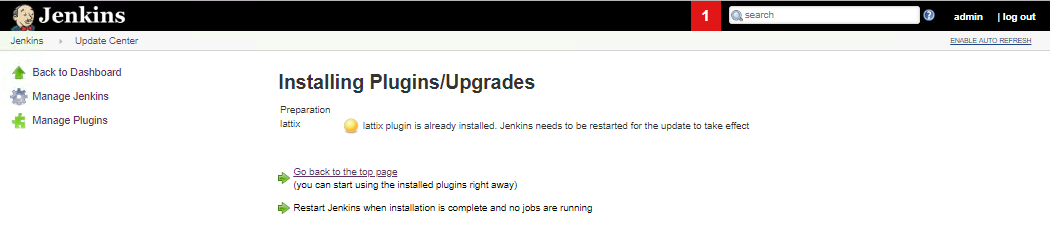
You will need to restart the Jenkins service. While Jenkins is restarting you may see a page like this:

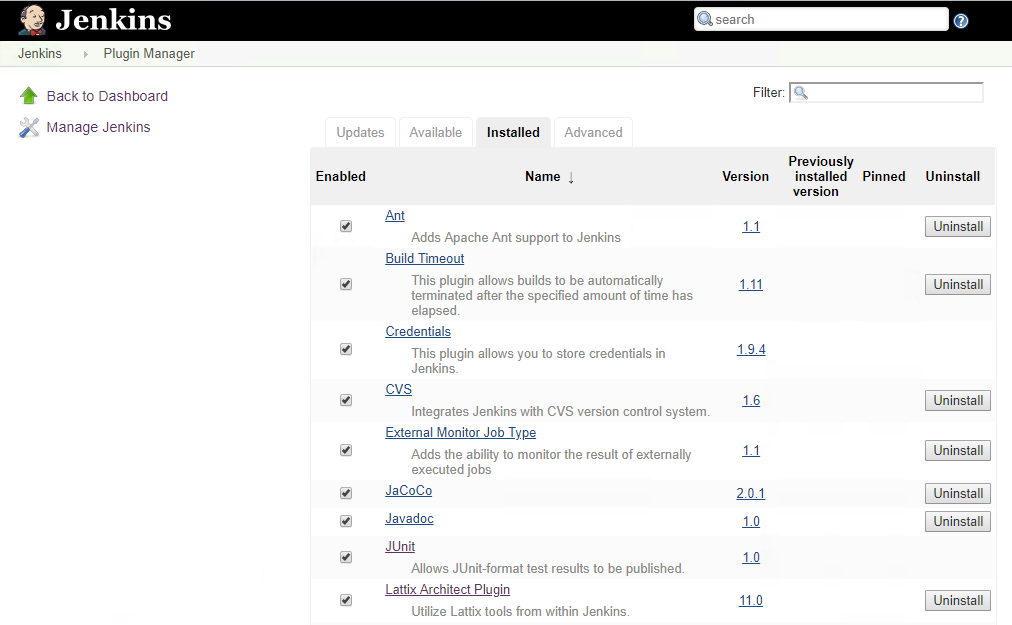
After Jenkins has restarted, you can visit the Manage Plugins page and see the Lattix Architect Plugin.
Configuring Hudson / Jenkins#
After installing the plug-in and restarting Jenkins
In web browser, go to Jenkins
Click on “Manage Jenkins” in left hand navigation panel
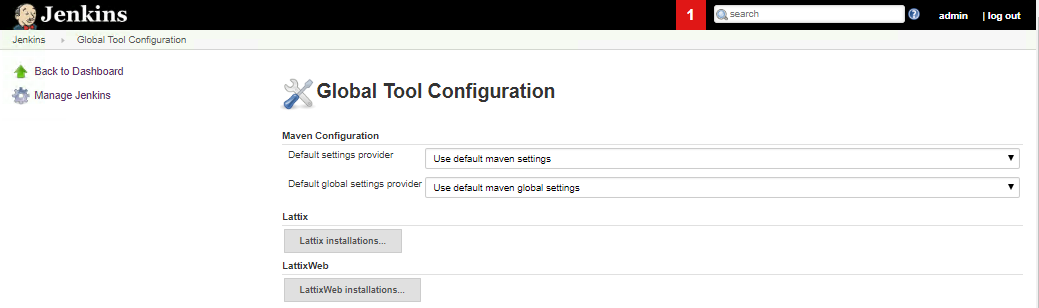
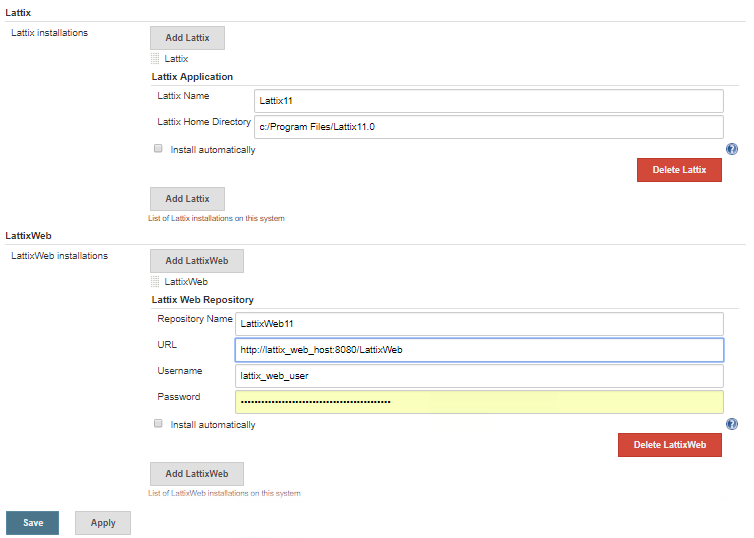
Scroll down until “Lattix” section is visible
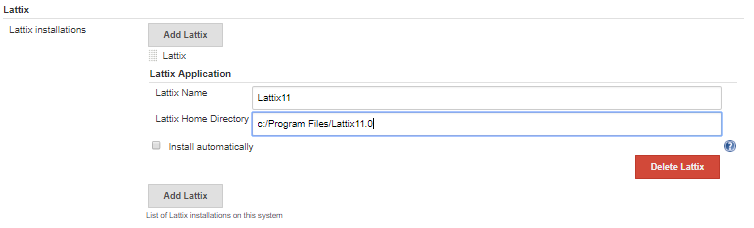
Click “Add Lattix” button
Enter name for lattix install
Enter path for currently installed lattix
Scroll down until “Lattix Web” section is visible
Click “Add Lattix Web” button
Enter name for repository
Enter values for URL/Username/Password for Lattix Repository

Click “Save” at bottom of page
Adding Lattix Support to Jobs#
Once you have installed and configured the plug-in, you can add Lattix commands to your Jobs.
In web browser, go to Jenkins
Click on name of job to which you will add a Lattix build step
Click on “Configure” in left nav panel
Scroll down to “build” section
Click “Add Build Step” drop down
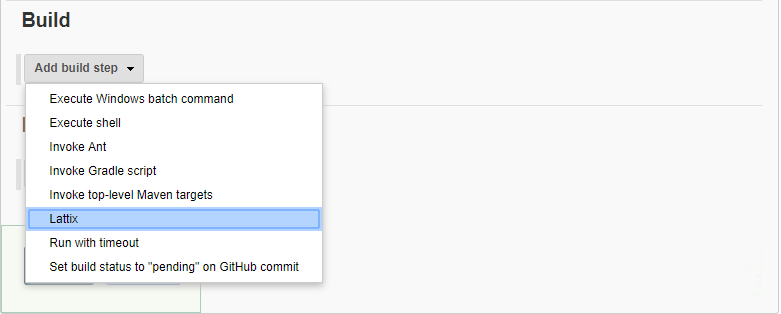
Select “Lattix”
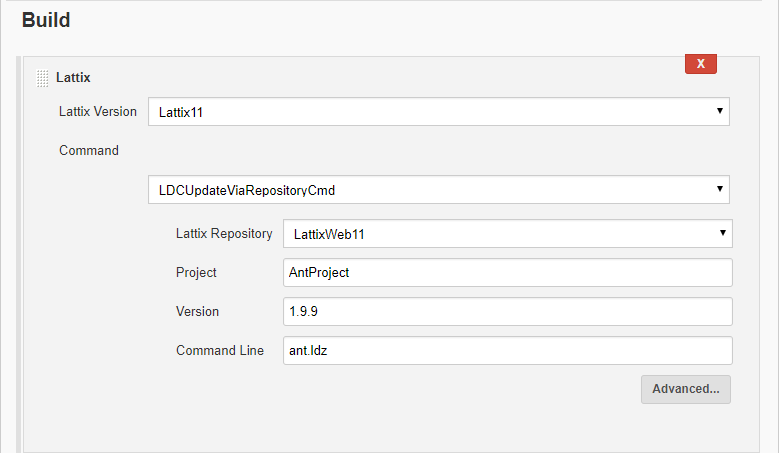
Fill in the fields (this example uses the LDCUpdateViaRepositoryCmd command which does a round trip to the Lattix Web Repository and includes an LDCUpdate)
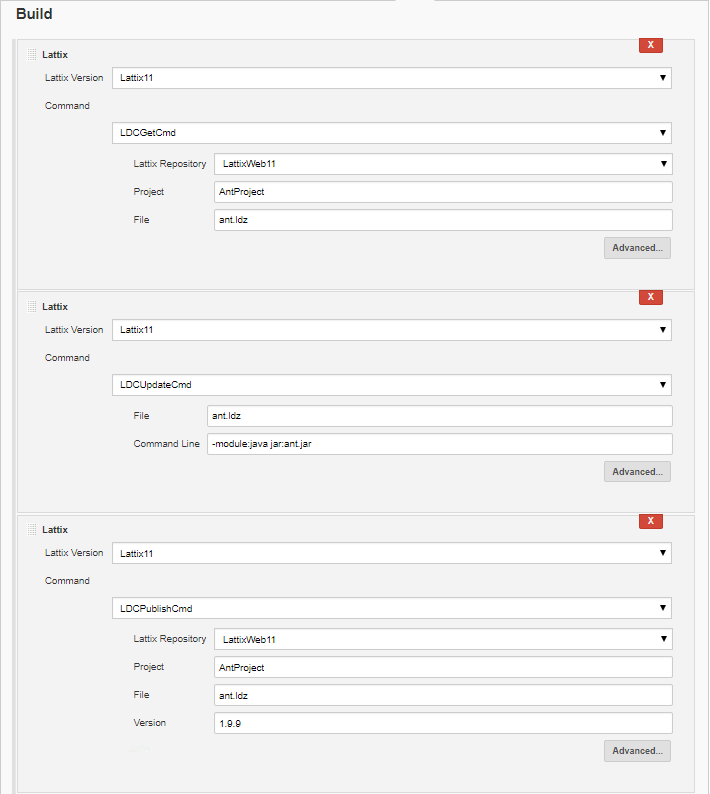
Repeat “Add Build Step” to add multiple commands. (This example breaks out the steps of the LDCUpdateViaRepositoryCmd command as individual steps)
There are 5 build commands to choose from#
Command |
Description |
|---|---|
LDCUpdateViaRepositoryCmd |
This is a convenience command which runs the ldcget, ldcupdate and ldcpublish commands in order |
LDCUpdateCmd |
Runs the ldcupdate command, which updates the Lattix Model with new dependencies |
LDCGetCmd |
Runs the ldcget command, which downloads a Lattix Model file (ldz) from a Lattix Repository |
LDCPublishCmd |
Runs the ldcpublish command, which uploads a Lattix Model file (ldz) to a Lattix Repository |
LDCReportCmd |
Runs the ldcreport command, which runs reports against a Lattix Model file (ldz) |
Checking for new violations#
You can configure jenkins to check for and output new violations. Also you can optionally “fail” the build if new violations are found.
At the bottom of the project configuration page, go to the “Post-build Actions” section.

Click on the “Add post-build action” drop down menu. Select item “Record Lattix Update/Violation Report”.
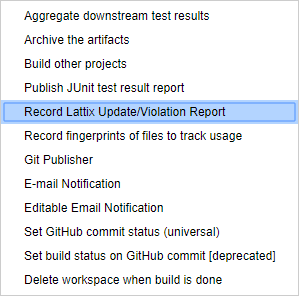
You will see the following block appear. Check the checkbox “Fail build on new violations” if you want the build to fail when new violations are discovered.
